A fiber optic star ceiling kit installation transforms an ordinary car interior into something magical — a rolling night sky that glows with elegance and precision. Installing it correctly requires a bit of patience, a few basic tools, and the right approach. With careful preparation, even a beginner can achieve a professional, luxury look that rivals high-end vehicles.
Start by preparing the workspace. Remove any obstacles and gently lower the headliner to access the top surface. Measure your space carefully, deciding how many stars you want and how dense the pattern should be. Most installers recommend between 100 and 200 fiber points per square meter for a balanced, natural galaxy effect. Once the plan is set, mark every hole location with a fine pen and ensure your layout follows the curves of the roof evenly.
Next comes the most delicate step
drilling. Use a precision bit of about 0.75 mm to 1 mm, depending on the fiber diameter. Drill each hole slowly, keeping the angle straight. After drilling, feed the fiber cables through each hole, letting about one or two millimeters protrude. Apply a small amount of heat-resistant glue to hold them in place. Always group your fibers neatly so they route cleanly toward the light engine.
The fiber optic star ceiling kit operates on a simple 12 V DC system, which makes it compatible with most automotive electrical setups. Connect the main motor or LED engine to an accessory power line so it switches on with the ignition. Make sure to include a fuse between the power source and the control unit for protection. When connecting the Bluetooth or remote module, keep the wiring accessible so you can adjust effects later.

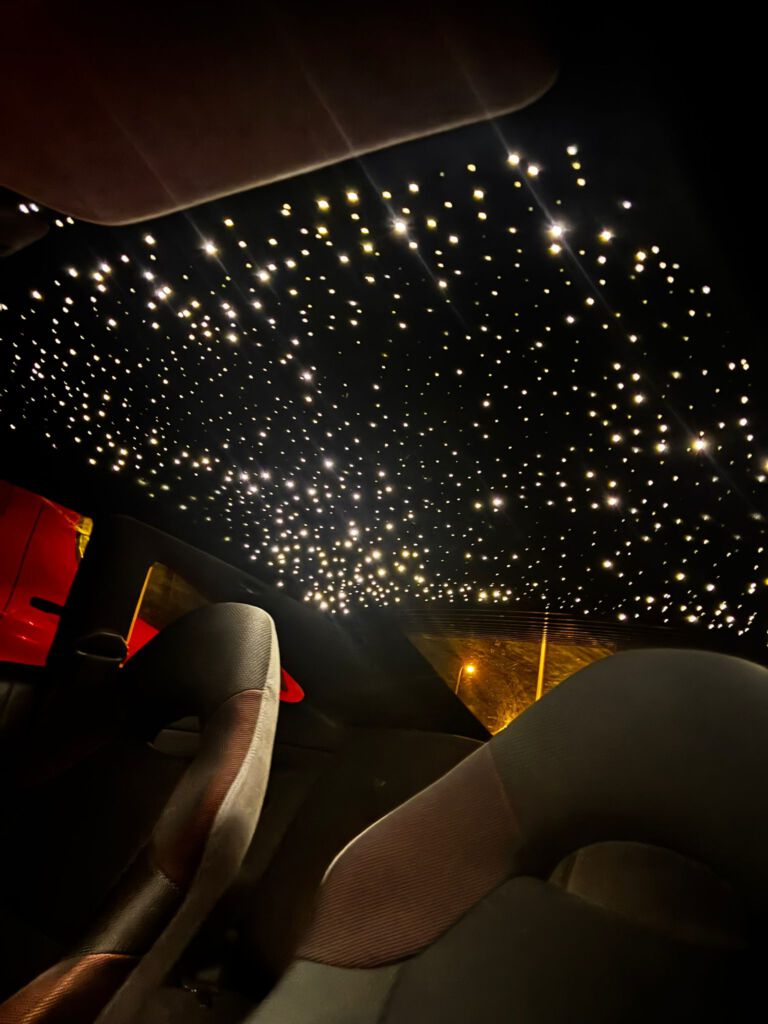
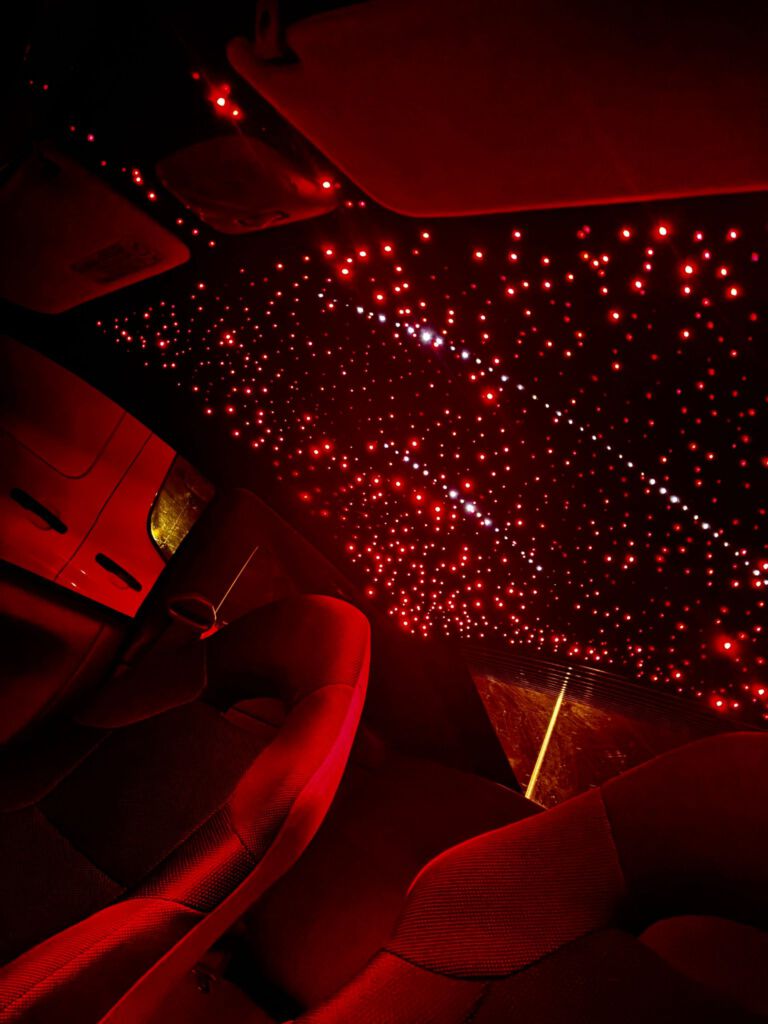
Once the physical setup is complete, it’s time for configuration. Power on the generator and open the Bluetooth app on your smartphone. Pair the device and explore different color profiles, brightness levels, and twinkle speeds. For a realistic effect, choose a pure white RGBW setting at about 70 % brightness. The “meteor” mode adds dynamic movement, creating the illusion of falling stars — perfect for show setups or nighttime cruises.
Cleaning and long-term care are simple. Dust the headliner gently with a microfiber cloth and avoid liquid cleaners that could seep into the fibers. If one or two points dim over time, they can easily be replaced by trimming the fiber slightly at the tip. The included motor is designed to last up to 50 000 hours, and most SoftTuning kits come with a two-year warranty.
Once installed, the transformation is striking. During the day, the fibers are almost invisible; at night, your cabin glows like a luxury lounge. Pair this upgrade with LED underglow or illuminated floor mats for a complete aesthetic overhaul. The soft light improves mood, enhances depth perception, and gives passengers an unforgettable experience.
Whether you drive a compact hatchback, a luxury sedan, or a tuned performance car, the fiber optic star ceiling kit installation brings a sense of wonder and craftsmanship that stands out. It’s not just lighting — it’s personality made visible.
A few final adjustments can take your setup from good to exceptional. Use a dimmer or mobile control to fine-tune brightness for different driving conditions. For extra elegance, integrate sound-reactive effects so the lights pulse gently with music. And remember: secure all cables firmly before re-installing the headliner to avoid rattling or vibration.
When properly installed, your star ceiling not only looks amazing but also reflects your attention to detail. Each glowing point represents a touch of creativity — a personal signature across the dark sky above your car’s interior. It’s a small addition with a big impact, turning every night drive into an immersive experience of light and motion.
As with any modification, patience and preparation define the result. Take your time, follow each step carefully, and test thoroughly before final assembly. The satisfaction of switching on your custom starlight for the first time makes every minute worth it.